Embarking on the journey of sewing crafts involves familiarizing oneself with the intricate mechanics of a sewing machine. It’s intriguing how a small yet significant part, known as the feed dog, plays a vital role in the sewing process. So, what is a feed dog on a sewing machine? It’s a key component that ensures the fabric is moved smoothly and accurately during sewing, reinforcing the overall functionality of the machine. In this article, I will explore its importance and operation, which can help you better understand your sewing machine’s workings.
What is a feed dog?
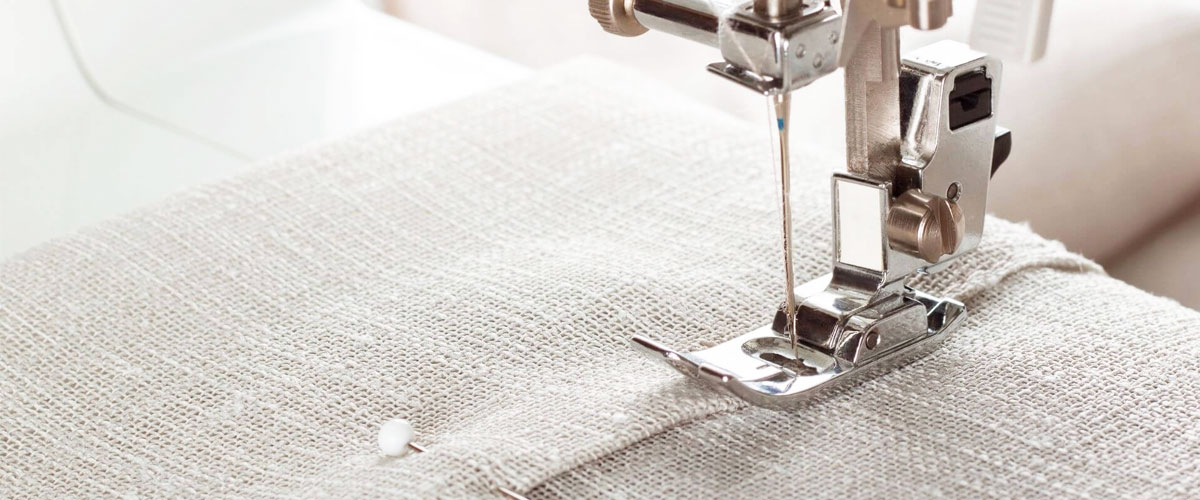
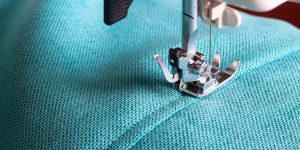
The feed dog, in essence, is an integral element of a sewing machine responsible for guiding the fabric through the machine as stitches are created. It resembles a small metal bar with diagonal, equally spaced teeth or serrations, which is located beneath the needle and presser foot area.
In a standard sewing machine, if you were to observe closely, you’d find the feed dog positioned in the machine’s throat plate, peeping through a rectangular slot. The serrated teeth of the feed dog point towards the machine’s front, engineered to grip the underside of the fabric and feed it through in a backward motion.
Adjusting feed dog settings
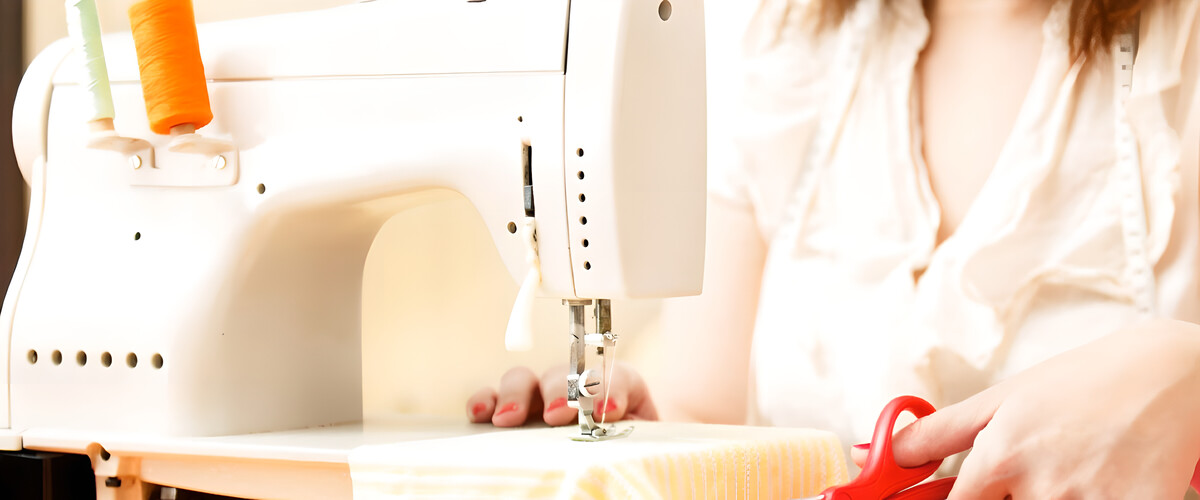
Adjusting the feed dog settings can provide the following:
- Greater control over the fabric: This adjustment allows you to manipulate the fabric as you see fit, giving you complete control when sewing.
- Enhanced precision: Whether you’re working on a standard project or experimenting with more complex techniques, adjusting the feed dogs can help maintain a steady stitch length and uniformity.
- Flexibility for different sewing techniques: Lowering the feed dogs is a prerequisite for certain techniques like darning, free-motion embroidery, or quilting, offering the freedom to move the fabric in any direction.
Here are my recommendations on how to adjust your feed dog settings:
- Identify the feed dog adjustment mechanism: This is typically a switch or a lever located on the back or side of your sewing machine.
- Set the feed dog position: Raise the feed dogs for regular sewing to help guide the fabric through the machine. Lower the feed dogs when working on techniques that require unrestricted fabric motion.
- Adjust according to your fabric: For thicker fabrics or layered projects, you may need to adjust the feed dog height or pressure settings to ensure optimal fabric feed.
Feed dogs and fabric types
Based on my experience, I can claim that feed dogs interact differently with various fabric types, and knowing these interactions can be important for a successful sewing project. The fabric’s thickness, delicacy, and even stretchiness can affect how the feed dogs should be adjusted. Here are some tips on optimizing feed dog settings based on different fabric characteristics:
| Fabric type | Feed dog adjustment | Additional tips |
|---|---|---|
| Delicate fabrics (e.g., satin, silk) | Lighter pressure if adjustable | Use a special sewing foot, like a walking foot or Teflon foot. |
| Thick fabrics (e.g., denim, canvas) | Higher pressure or height if adjustable | Use a heavy-duty needle and a longer stitch length. |
| Stretchy fabrics (e.g., knit, jersey) | Regular setting | Use a ballpoint needle and a stretch stitch. |
Caring for feed dogs
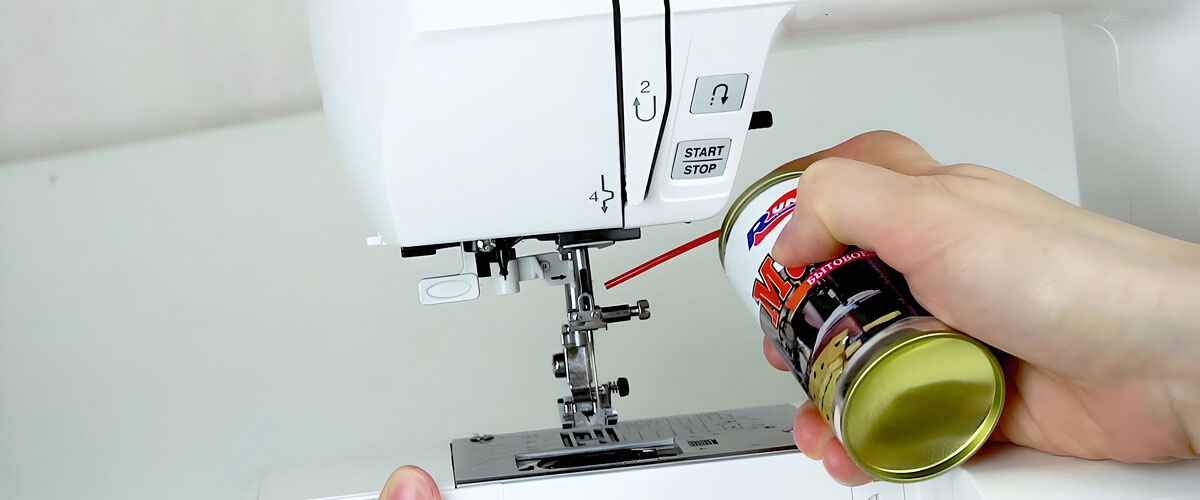
Caring for the feed dogs is essential to maintain the seamless operation of your sewing machine. Over time, lint, dust, and fabric scraps can accumulate in the feed dogs, potentially impacting their performance and the overall sewing experience. Regular maintenance and cleaning can extend their lifespan and ensure they continue to function efficiently.
Here are my guidelines for taking care of your feed dogs:
- Regular cleaning: After every few uses, depending on the frequency and duration of your sewing sessions, I recommend cleaning your feed dogs. This can be as simple as using a small brush (often provided with the sewing machine) to gently brush away the accumulated lint and dust.
- Deeper cleaning: If there’s significant buildup or you’ve been working with particularly lint-heavy fabrics, you may need to remove the throat plate to thoroughly access and clean the feed dogs. Remember to consult your machine’s manual for specific instructions, as the process can vary from one model to another.
- Professional maintenance: While regular cleaning can be done at home, I also advise you to get your sewing machine professionally serviced annually. This ensures that not only the feed dogs but all other components of your machine are in optimal condition.
- Use of compressed air: While some resources might suggest using compressed air to clean the feed dogs, I don’t usually do that because compressed air can push lint and dust deeper into the machine, causing more issues in the long run.
Troubleshooting feed dog issues
If you notice that your sewing machine’s feed dogs are not moving properly or the fabric is being fed unevenly or puckering excessively, here are a few troubleshooting steps:
- Check feed dog position: Ensure that the feed dogs are in the ‘up’ position for regular sewing. If they are not rising above the machine’s plate when set to ‘up’, it may indicate a need for professional service.
- Clean feed dogs: Built-up lint or a stray thread can obstruct the feed dogs’ movement. A thorough cleaning can often resolve the issue.
- Check sewing machine tension: Incorrect thread tension can cause fabric puckering. Try adjusting the tension settings according to your machine’s manual.
- Verify presser foot pressure: If the pressure is too high, it can cause the fabric to bunch up. Adjust it to suit the fabric you’re working with.
- Inspect for damaged feed dogs: Damaged or worn-out your sewing machine’s feed dogs may not grip and advance fabric effectively. In this case, a replacement may be needed.
Remember, regular maintenance and understanding how to troubleshoot common issues with your feed dog can ensure uninterrupted and satisfying sessions with your sewing machine.

![The 4 Best Machines Under $500 [Budget Sewing Solutions]](https://www.favoritethings.net/wp-content/uploads/2024/03/best-sewing-machine-under-500-review-300x150.jpg)
![Best Sewing Machines for Upholstery [Crafting with Quality]](https://www.favoritethings.net/wp-content/uploads/2024/02/best-sewing-machine-for-upholstery-300x150.jpg)
